Squares Everywhere!
One of my goals for this year was to complete a physical project, luckily enough I had one that was almost done since last year!
I was inspired by a reddit-post and thought, hey that’s a pretty slick idea I bet I can make one myself!
So I started to order stuff from China, but since it takes forever for stuff to arrive I had kind of forgotten about the project when I got them. Once the components arrived I had to search the apartment for some old raspberry pi to use.

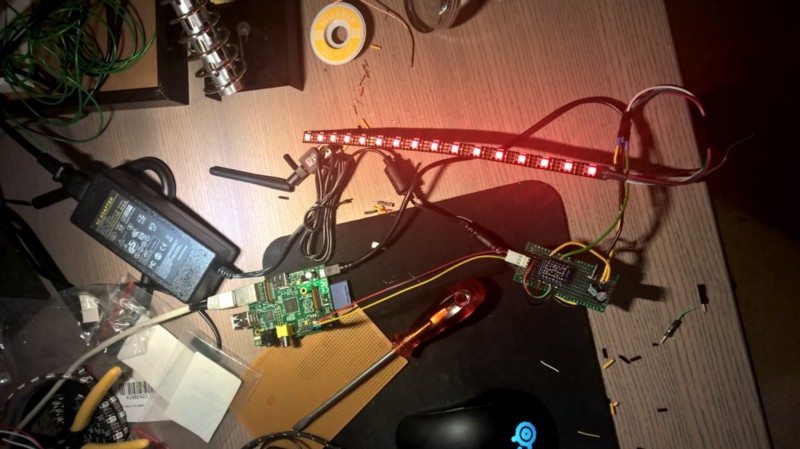
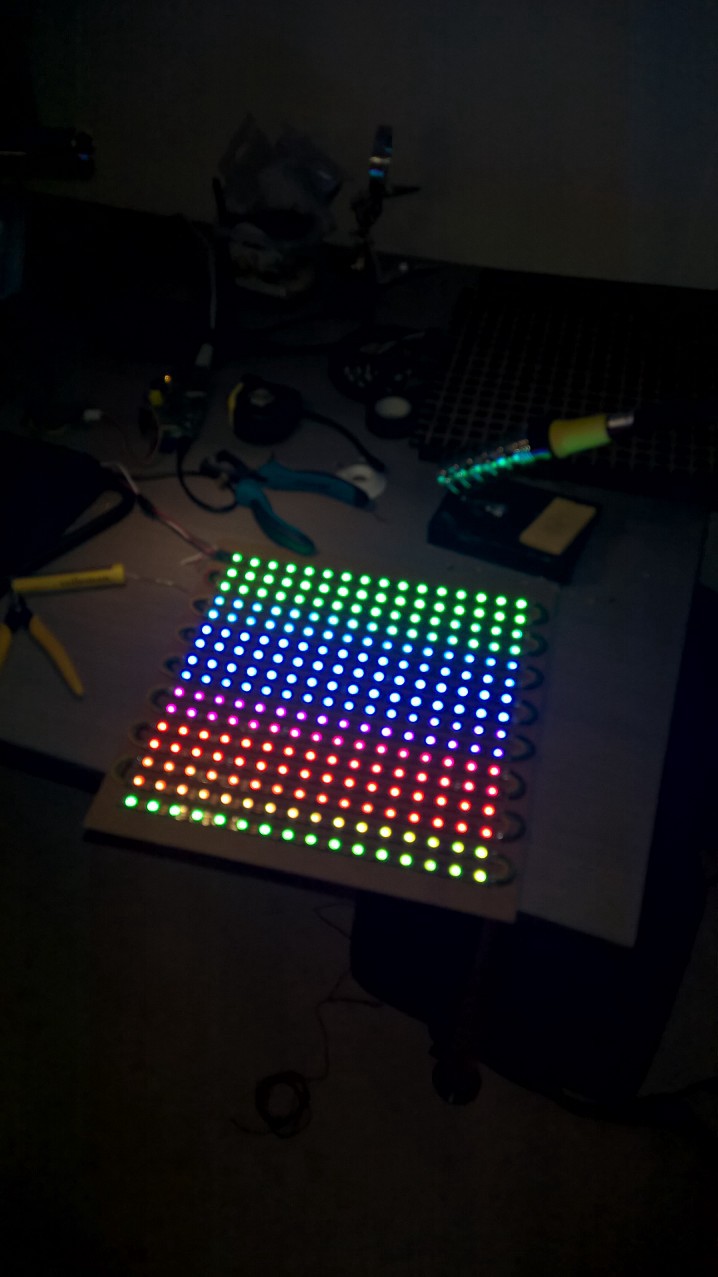
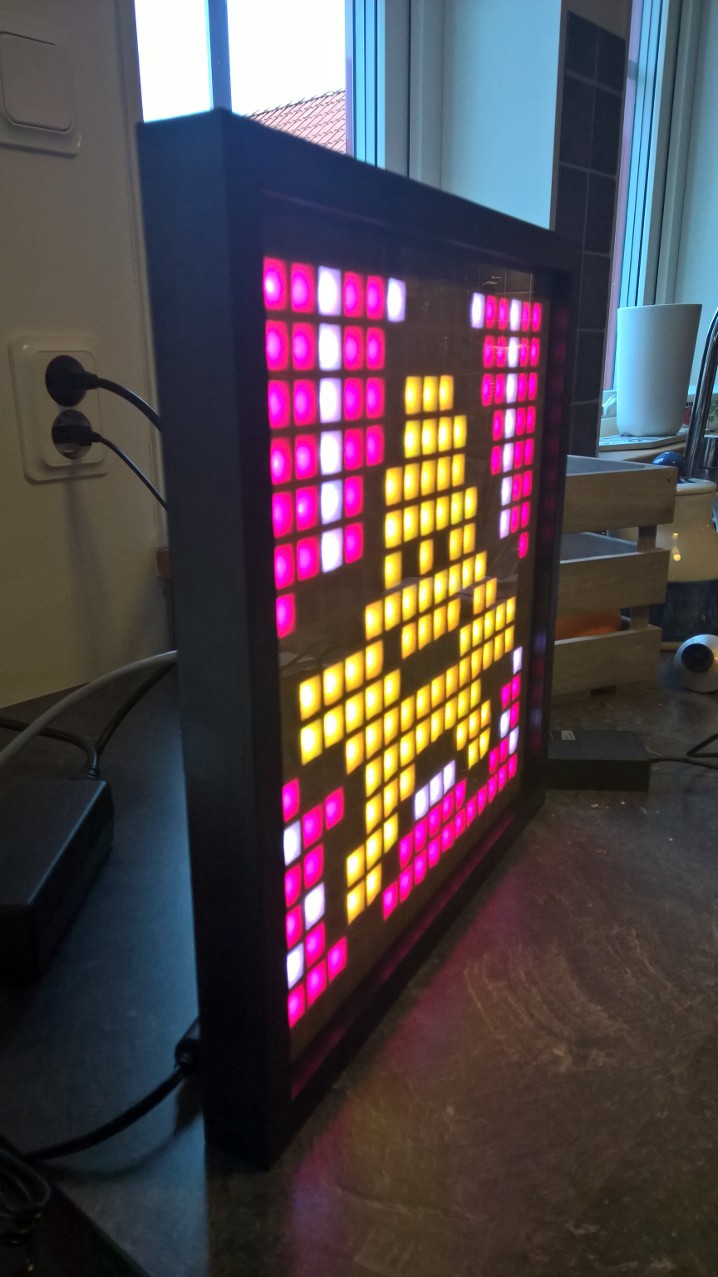
We’ve got a light! Working with LEDs is very satisfying, the whole room shining up and blinding you like it’s a flash grenade that was just thrown into a bunch of enemies in cs:go.. wow.
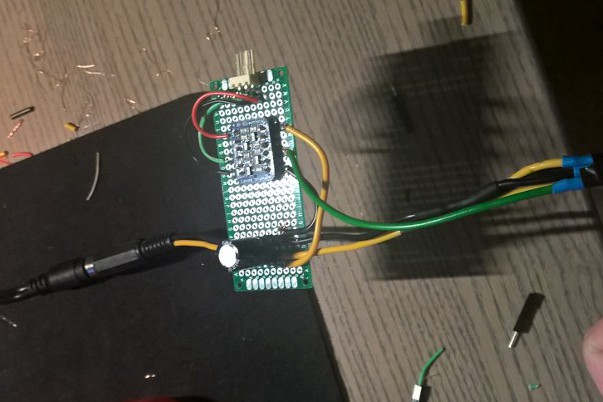
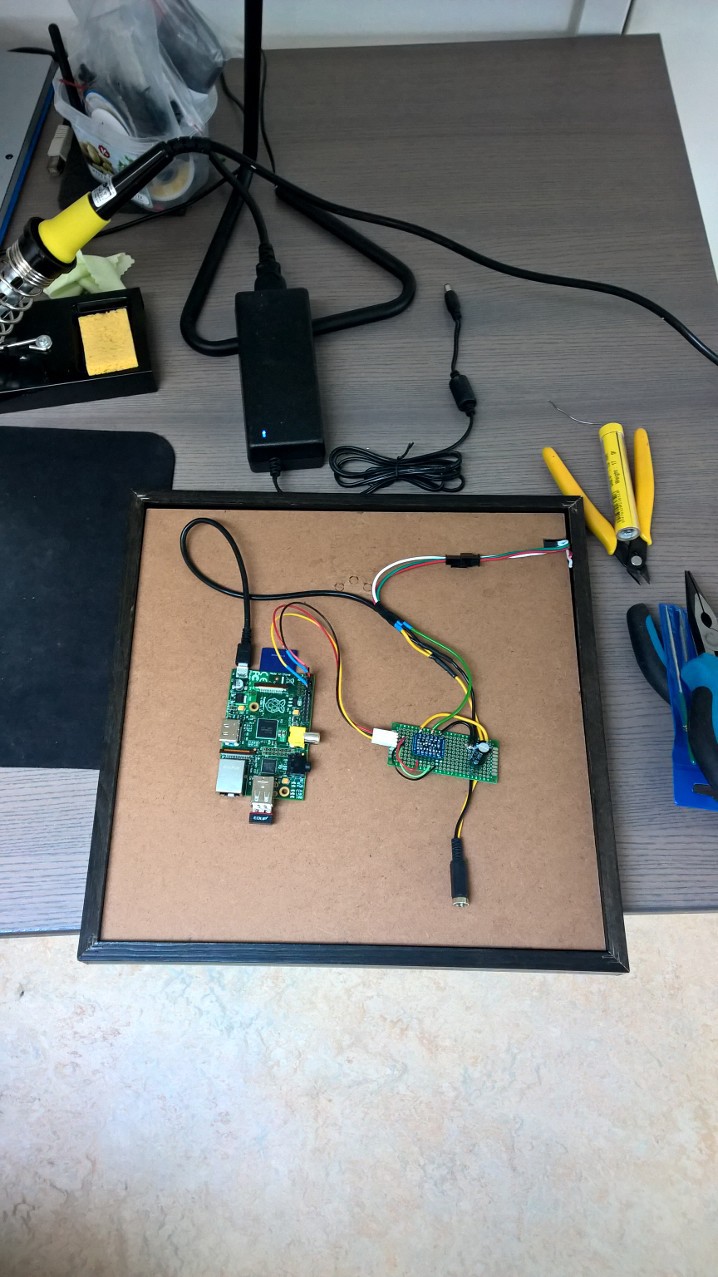
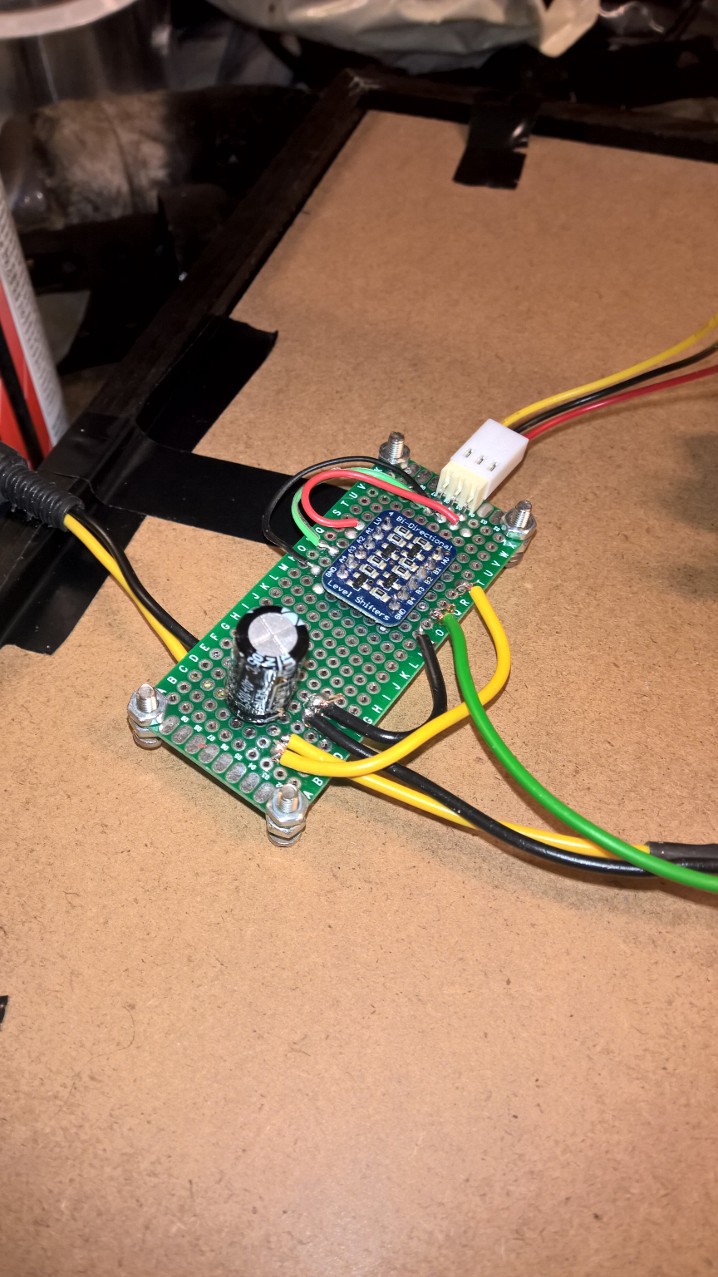
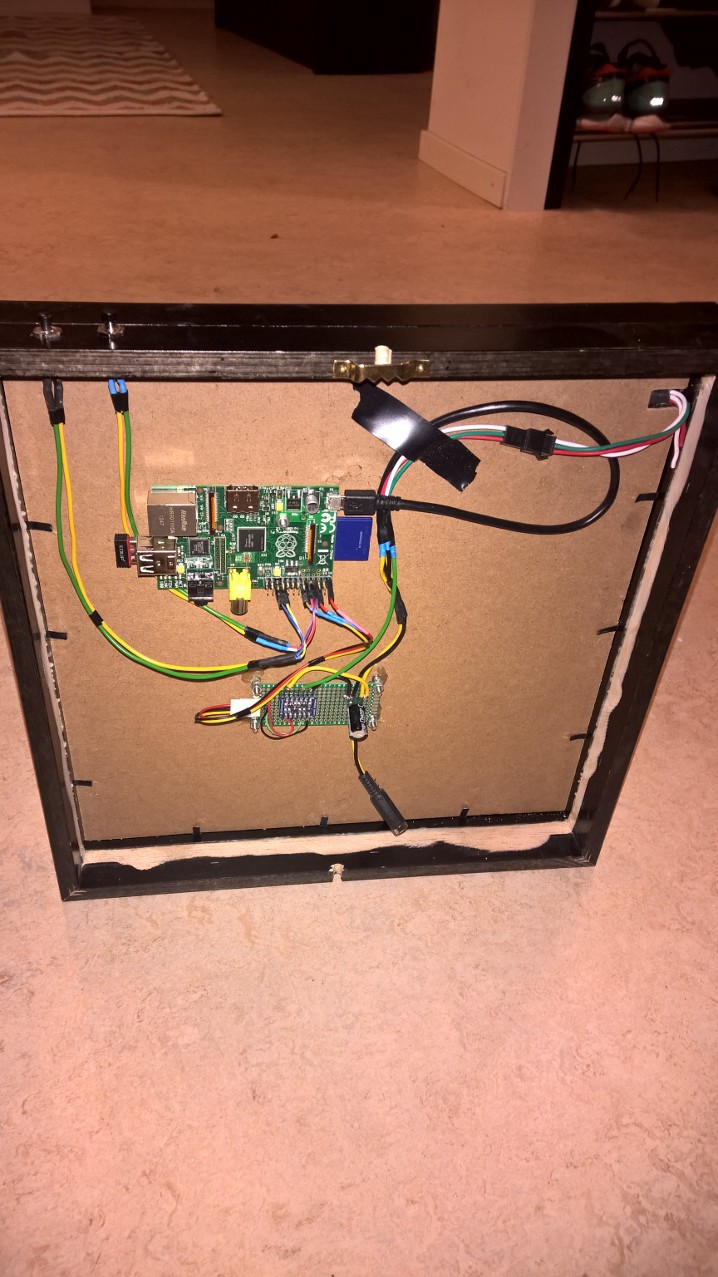
Next it was time to create a little board that will split to power to the raspberry and to the led strip since it needed to be powered separately. The boards other function is to translate the signal for the colors on the LED-strip from 3.3v to 5v.
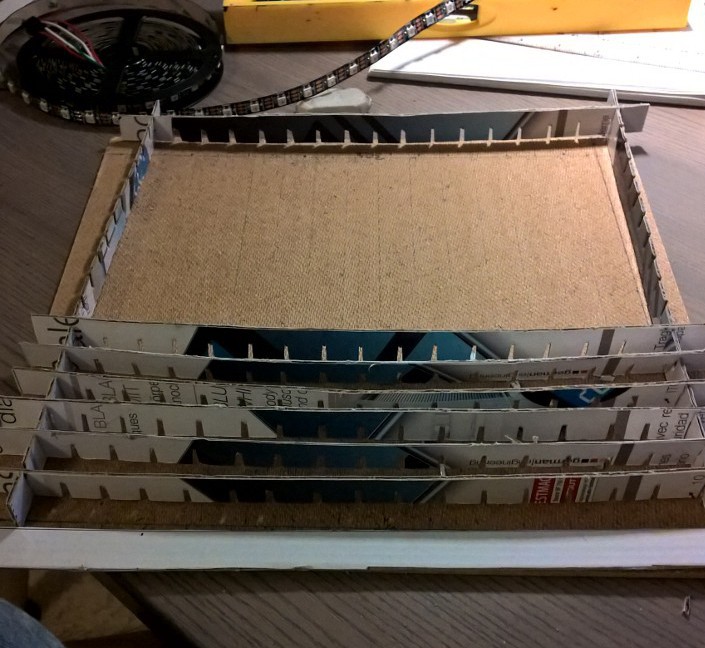
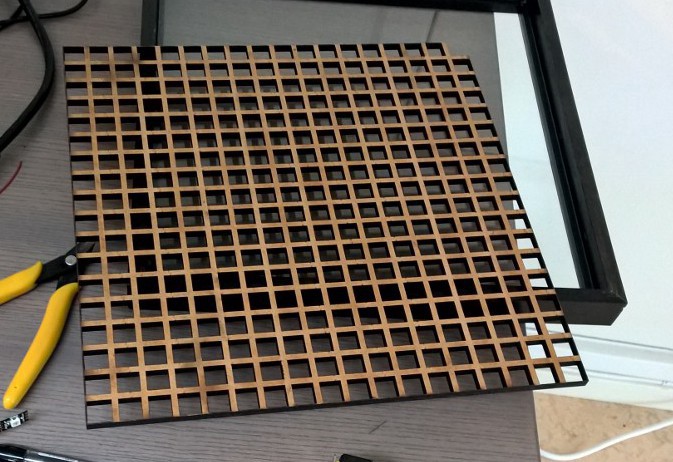
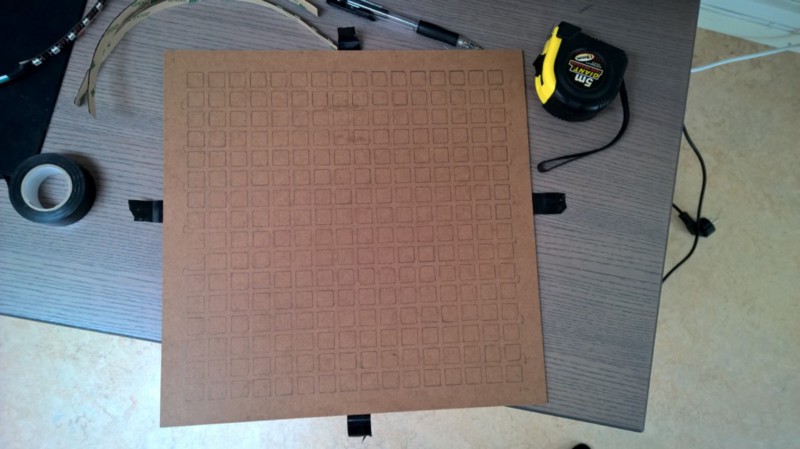
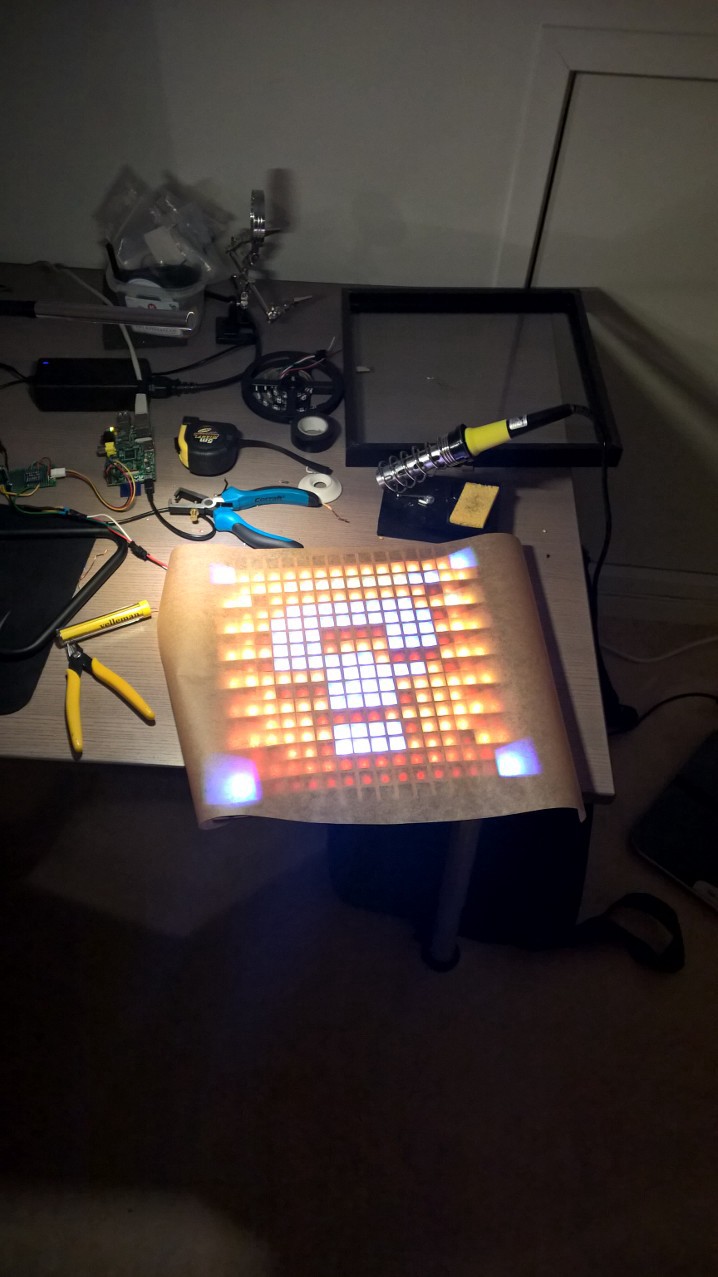
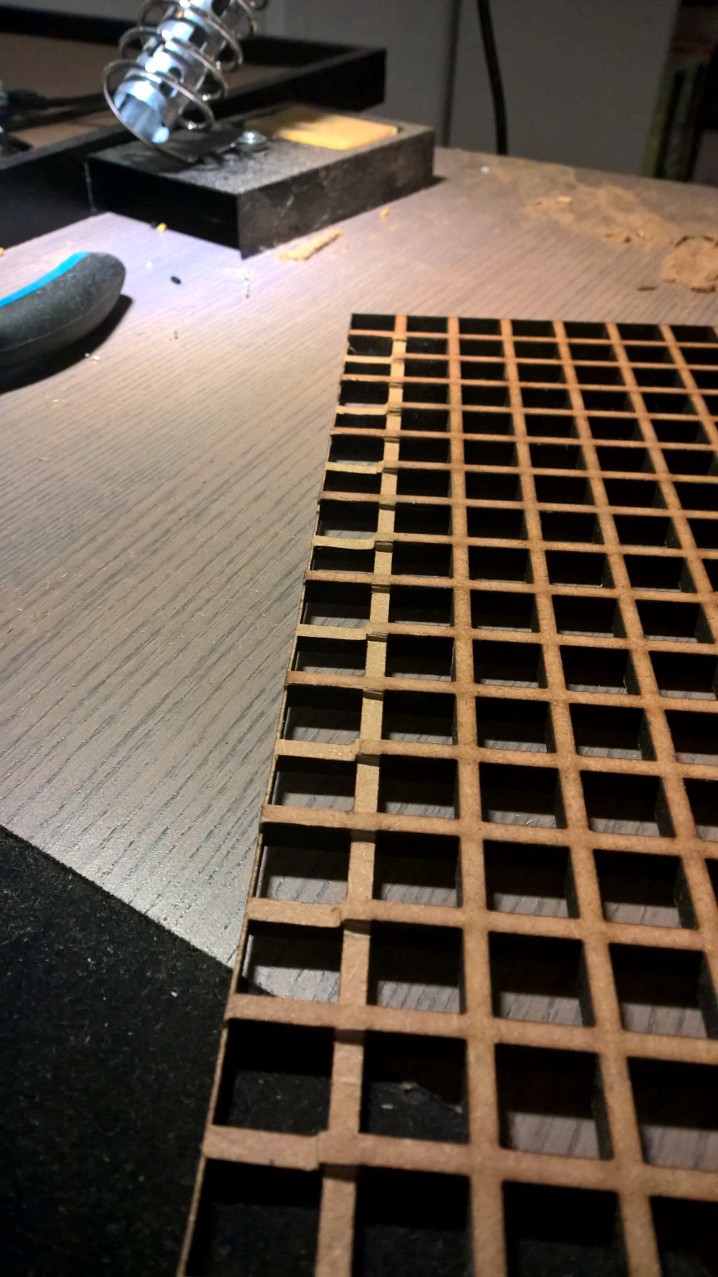
I was hoping that my skills with the knife would be top-notch, kitchen world class but alas they were not. This grid that I tried to create to make sure the light from each LED is not mixed with its neighbours. I ended up scraping the idea of having the grid made out of paper. Instead I decided to go down the lasercut path! I created a blueprint and ordered from a local firm.
That’s great, but the LEDs needs to stick on something so that I can put the grid next to it!
Fortunately the LED-strip comes with a mild adhesive so that you can attach them.
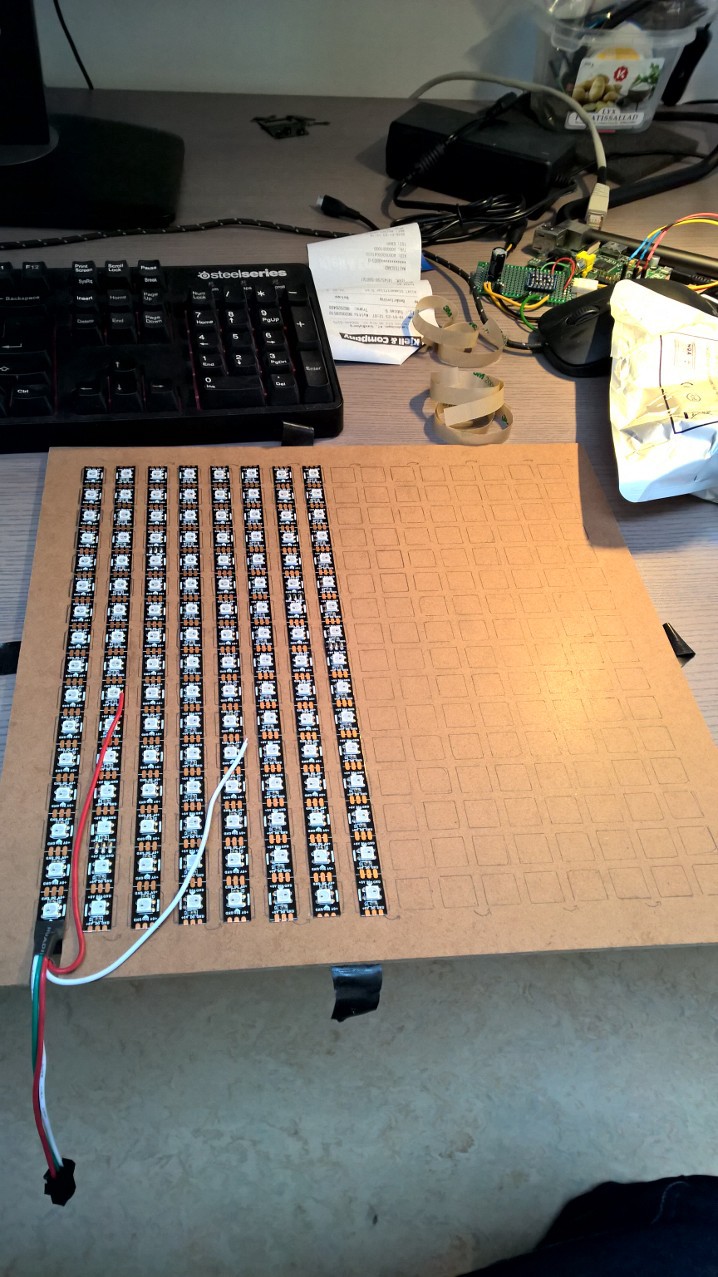
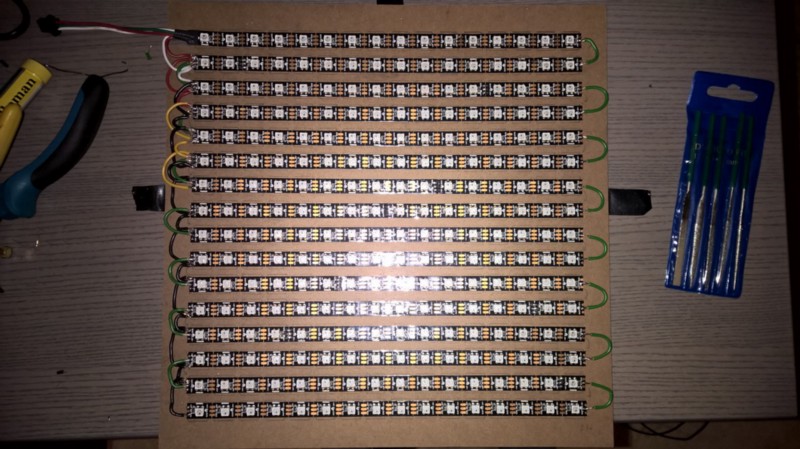
The most tedious work was soldering all the strips togethers, just a pain especially if you don’t have a good working station.
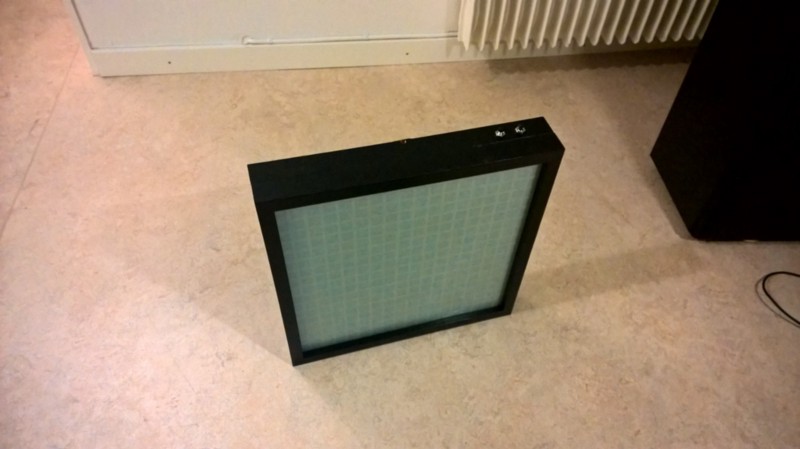
SHE LIVES!
I had to sand down my grid a little bit to allow for the cables to be attached to the strip, the frame was bought from Åhlens.
I wrote the node.js application myself and after many hours it could load and play multiple animations, but my math was a little bit off so I had inverted each odd row.
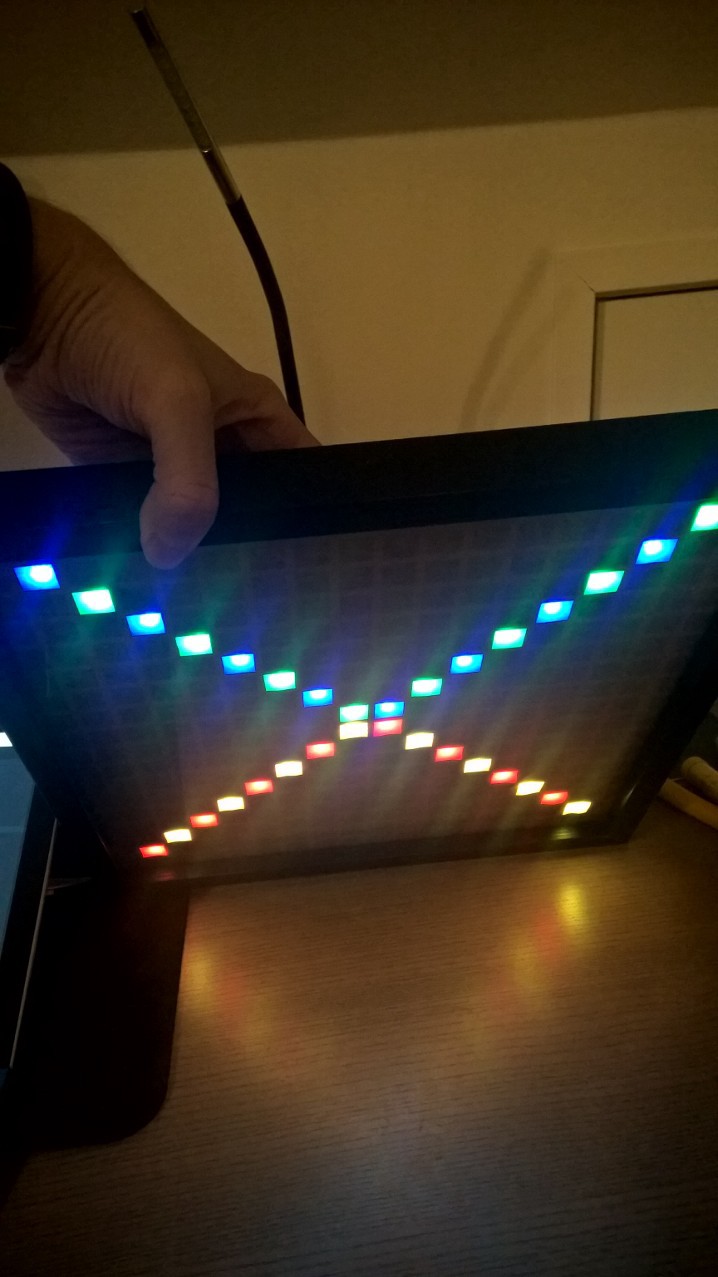
After some more time I figured out how to do it and on it went! (Sorry for portraitmode, sad panda)
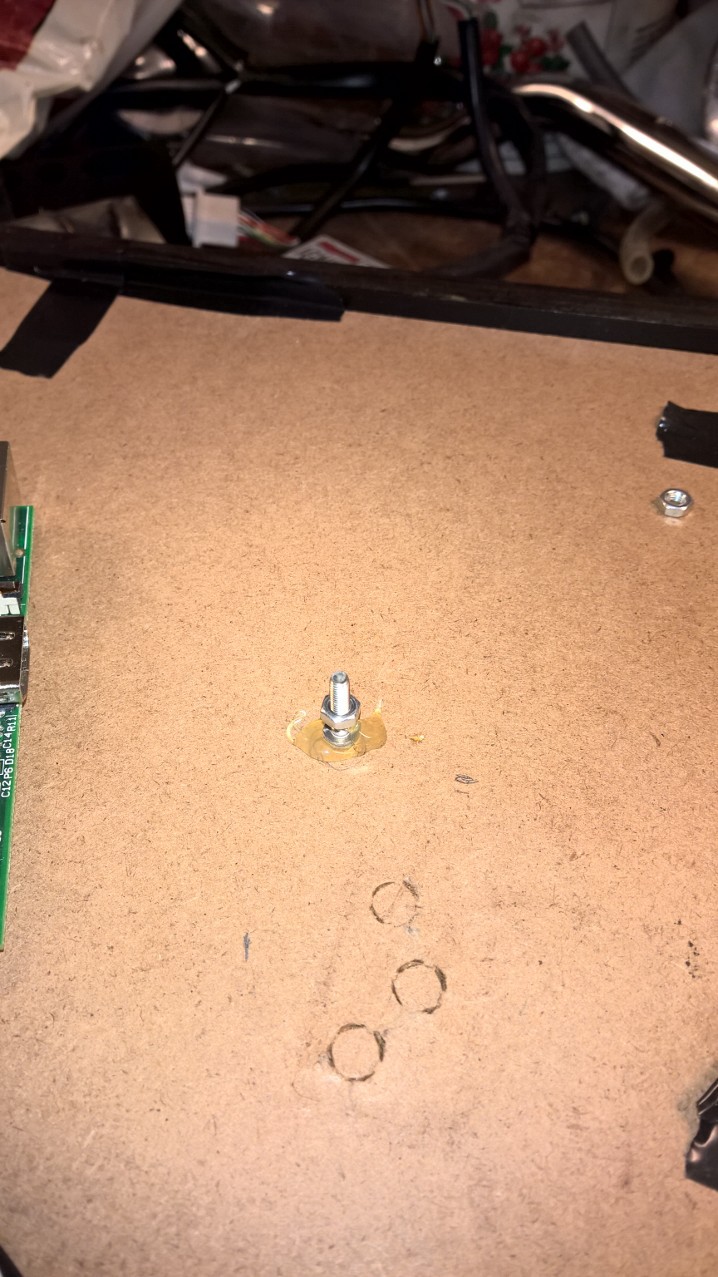
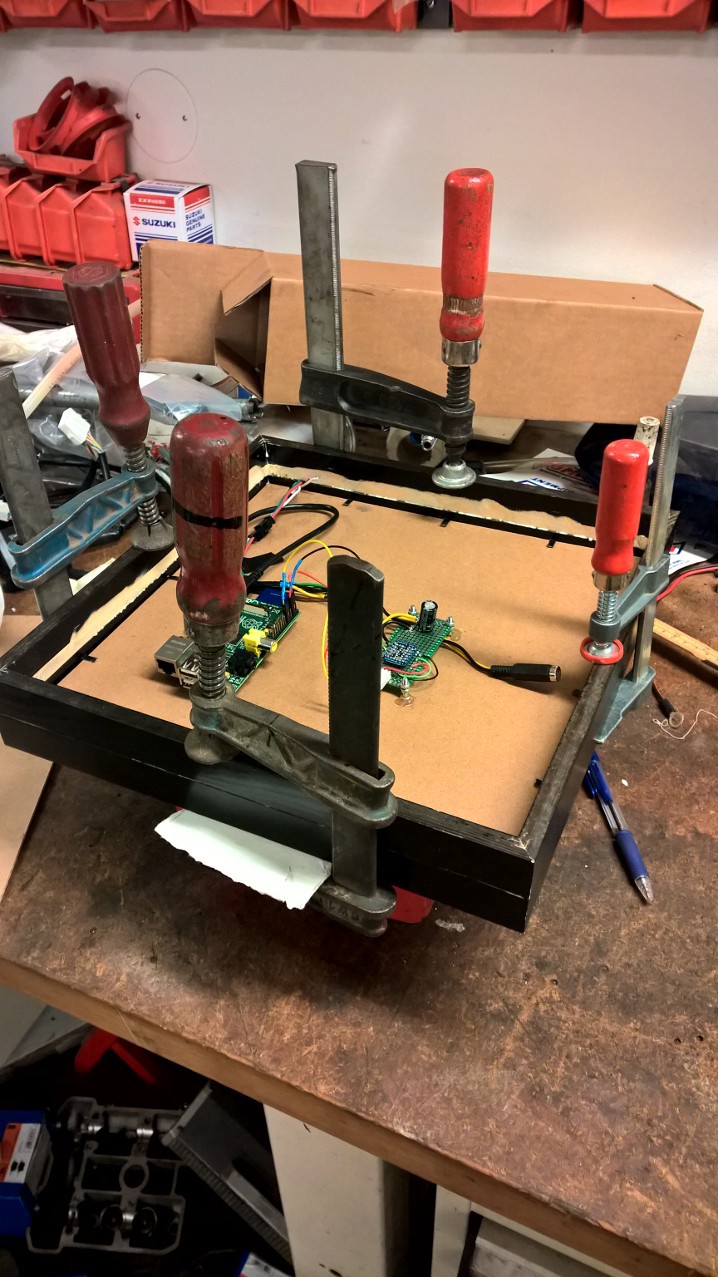
Attaching the components to the frame was done with glue. The spacers make sure I can remove the electronics if something goes wrong.
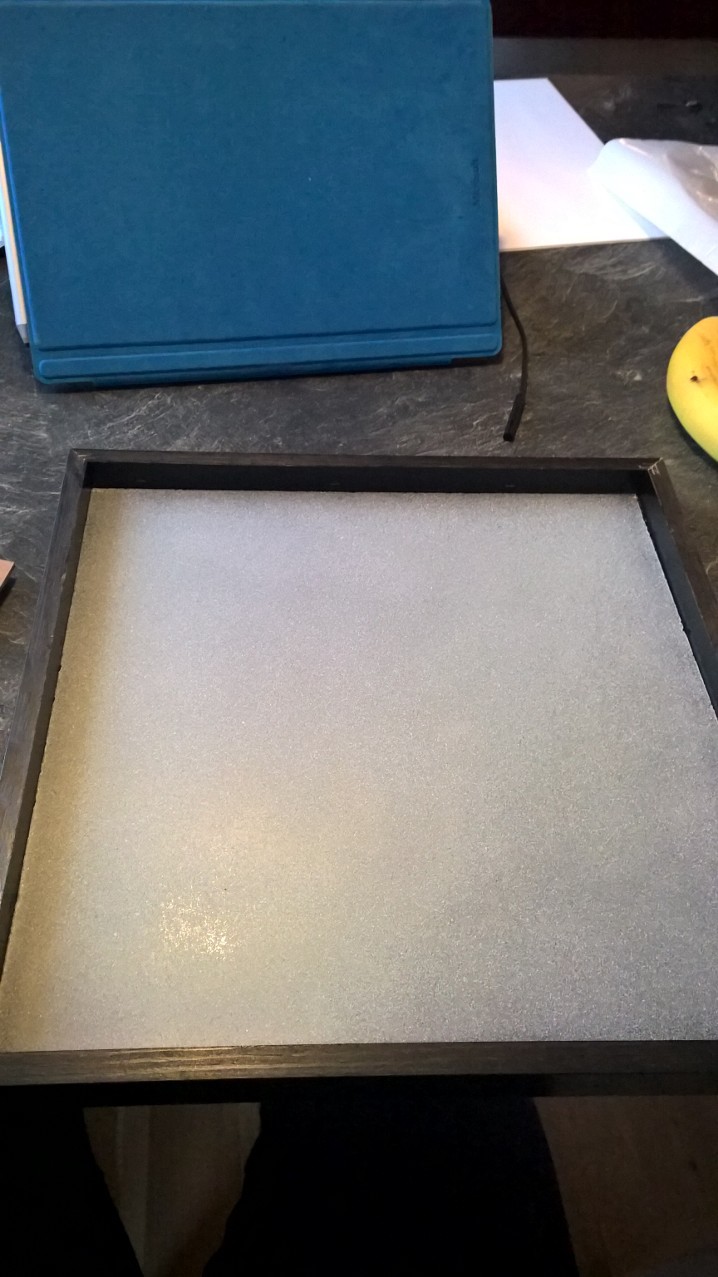
Previously I had used a piece of baking paper, but the brilliant idea to sandblast a piece of glass came while enjoying a beer. It had to be done!
To be able to mount it on the wall the depth of the whole contraption had to be increased. Wall spacers?! NO, just take another frame and glue it togethers, clamps ahoy!
The last feature I wanted on the device was two physical switches so I could turn of the light and to change animation.
Overall, this was a great learning experience and something I realized quick is that if you don’t have the right tools you’re going to have a hard time.
Link to source code and a more detailed list of components