Bullshit
Got the idea of a dynamic bullshit button while looking at different buttons. Why not be able to add multiple sound files and then allow it to play a random sound file! That way, you can add extremely cheesy or just plain bad sounds to make sure you can use it to terrorize your collegues and friends!
Componentes used
- Teensy 3.1
- Teensy Audio Shield
- Arcade button
- Prototype board
- Cables
- 3.5" audio connector
- Breadboard
Build log
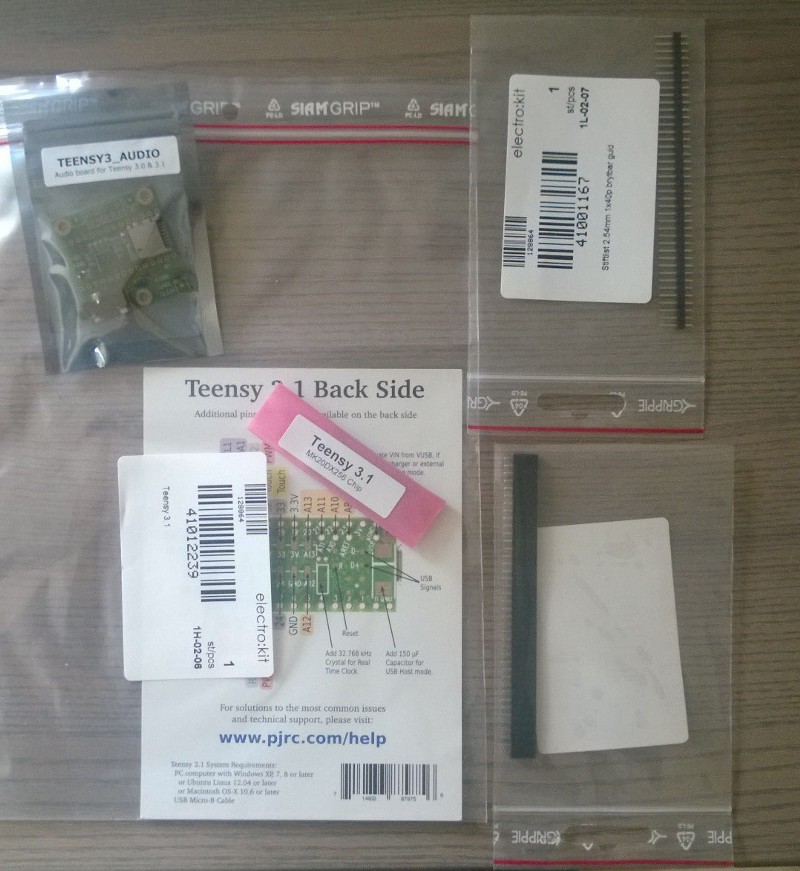
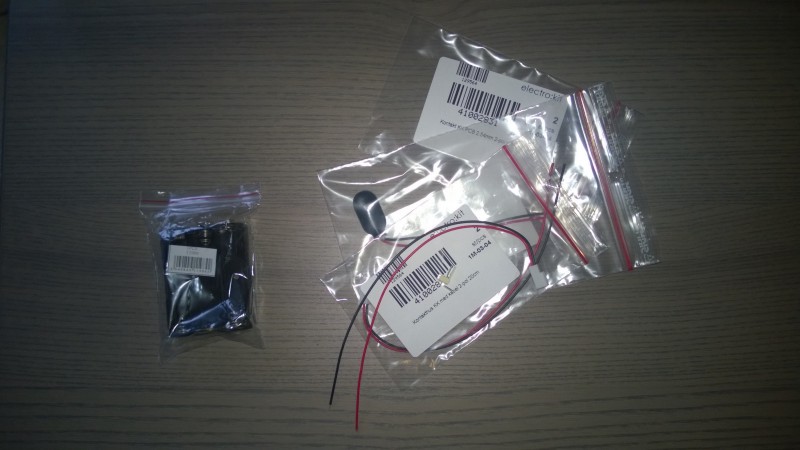
Some items arrived in the mail, excited to get started.
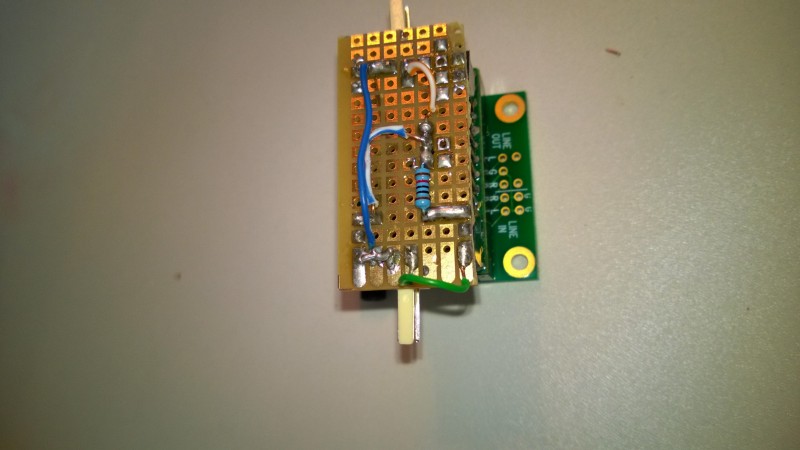
First real soldering challenge has begun! Oh god, why have I started this.. so small and fiddly! I ended up having to redo the soldering because I did a shitty job the first time. Good practice anyway!

Testing out button on the breadboard
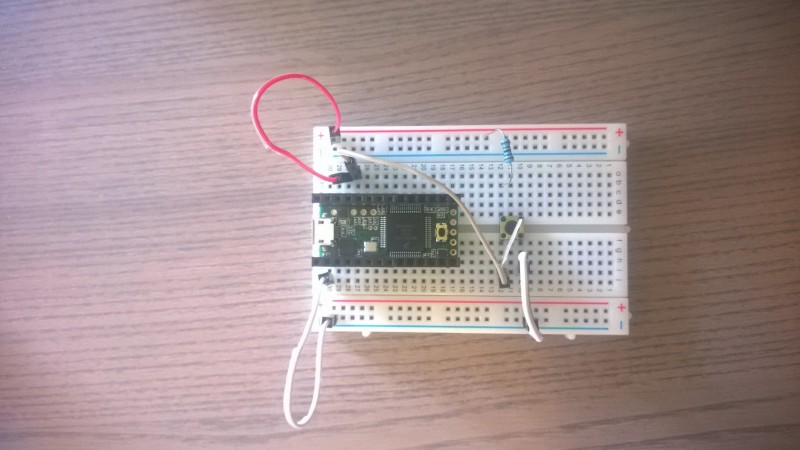
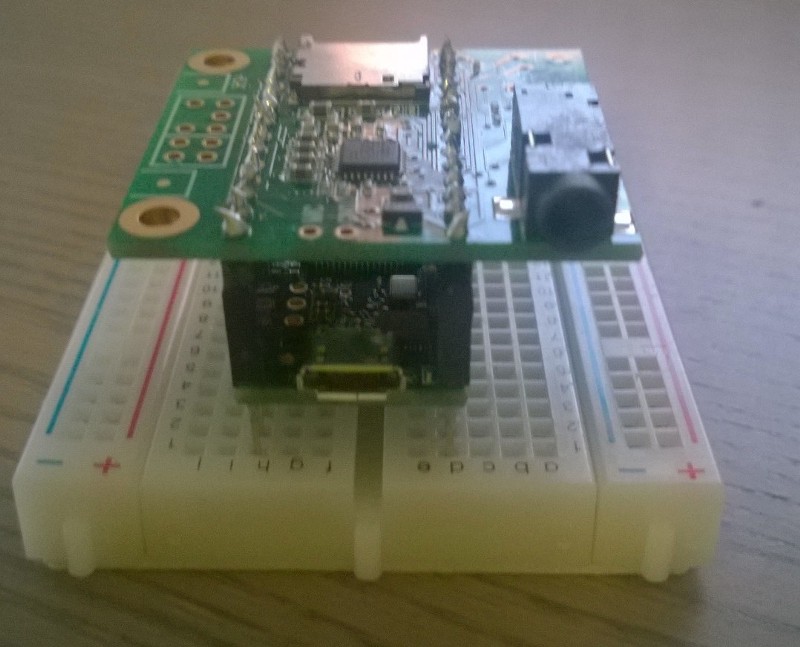
and it seems to work, next stage can begin! Its time to add the audio shield, oh wait.. more soldering. The audio shield has a micro SD-card slot that should be able to have my sound on it!
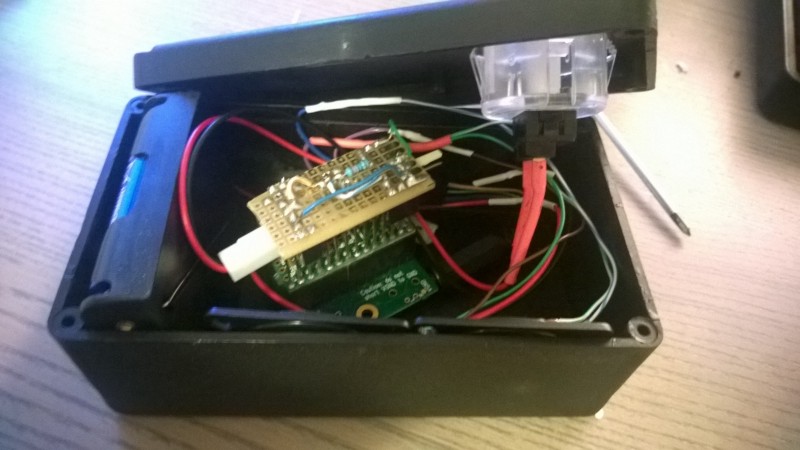
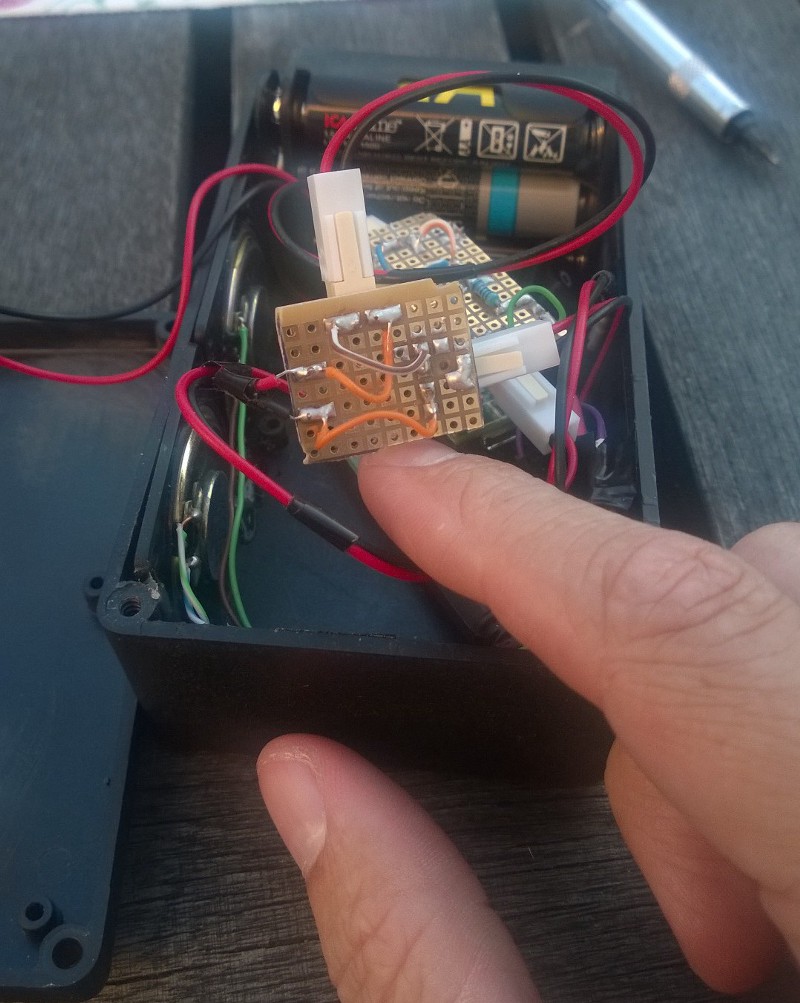
Creating my own horrible looking board to remove the breadboard!
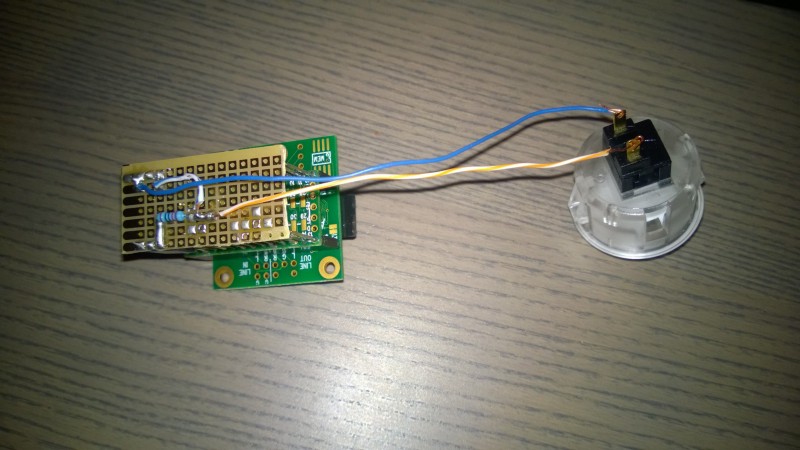
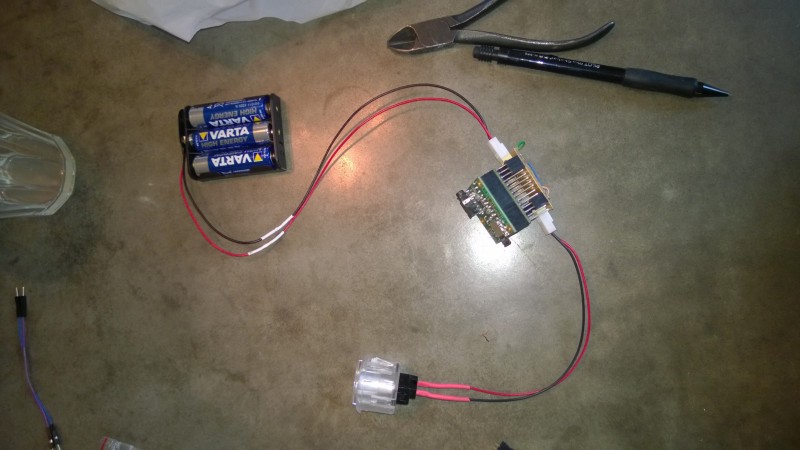
At this point I got the idea that the button and the battery should be removeable, so I had to order some more items!
and the board is still horrible, but now with connections for both the battery and the button. This should make it easier!
The soldering on the arcade button had broken so I had to add strength to the soldering, I did this for both the battery and the button
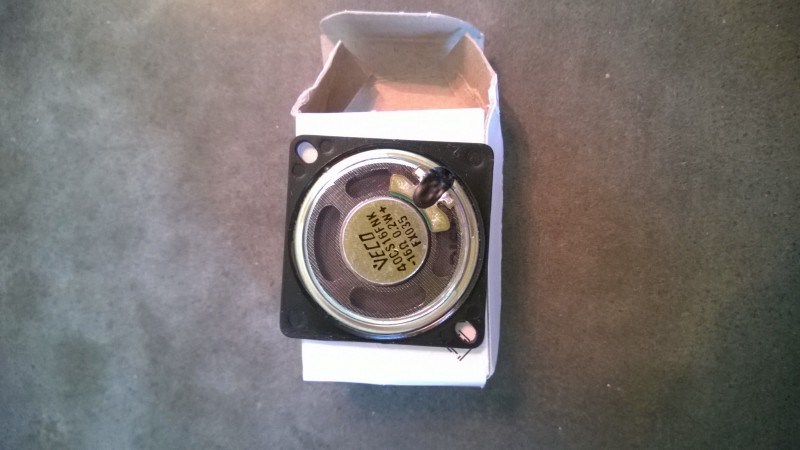
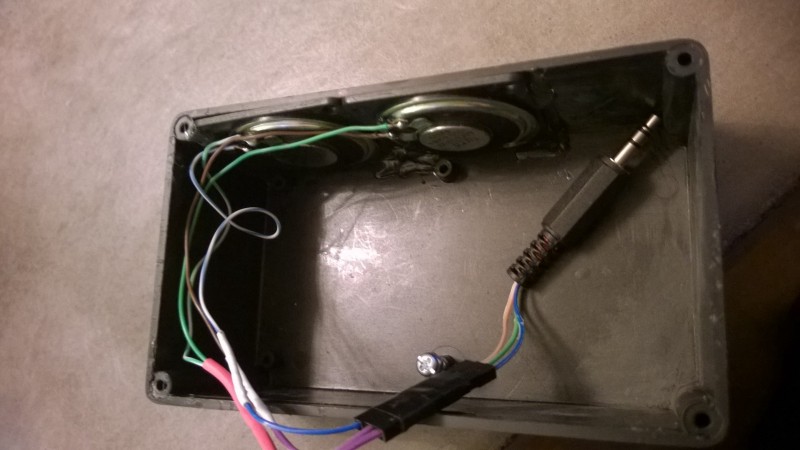
After this I set my eye upon some sort of small speakers, because up until now I had used my headphones as speakers. My first idea was to buy a set of speakers from an electronics show but turns out I would need an amplifier.
At this point I got the brilliant idea to butcher an old pair of headhphones, well they were new but very cheap.
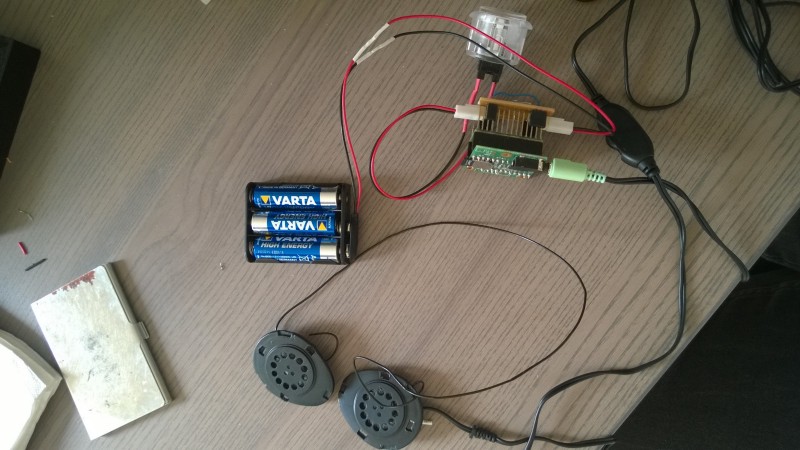
As it happens, a really long cable is not a good thing if you battle with space constraintments. I tried to shorten the cables, but in the process I damaged one of the speaker elements and just game up on this idea. I went back to my previous one. soldered them to a 3.5" contact and plugged them in. Hells yea it worked!
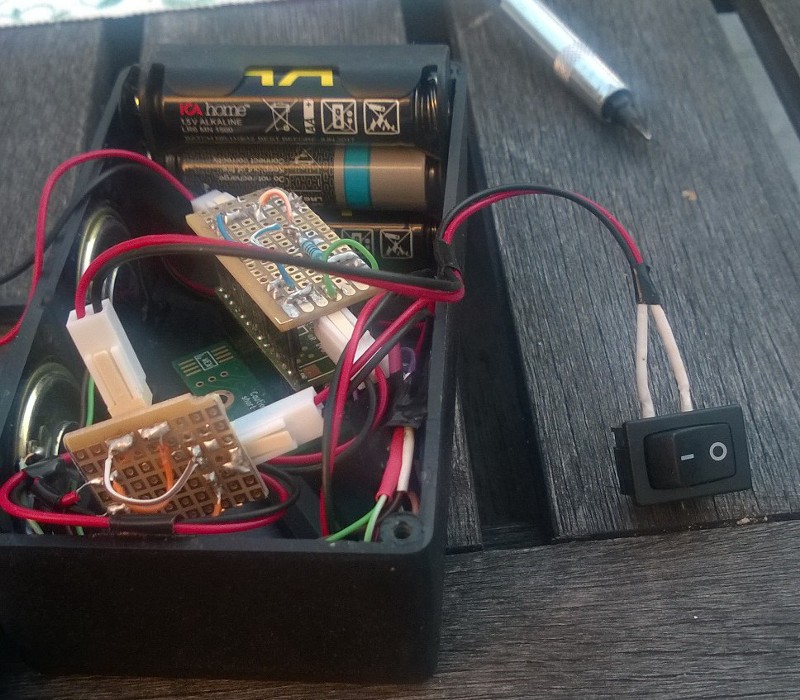
At this point I also started to try and fit everything in a small container that I had gotten, drilled a hole in the top of the container to make space for the button!
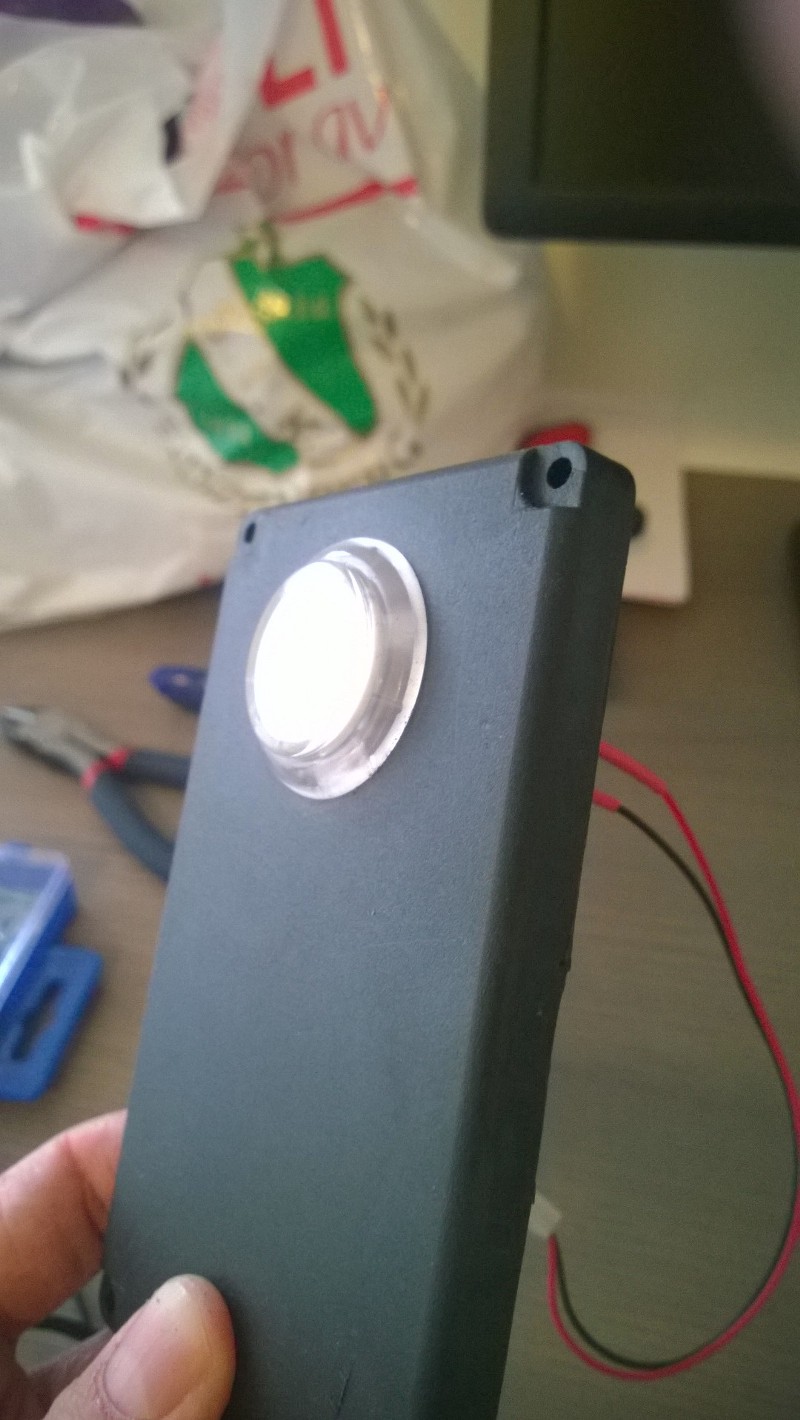
Note, I’m in no way affiliated with the club on the plastic bag in the background!
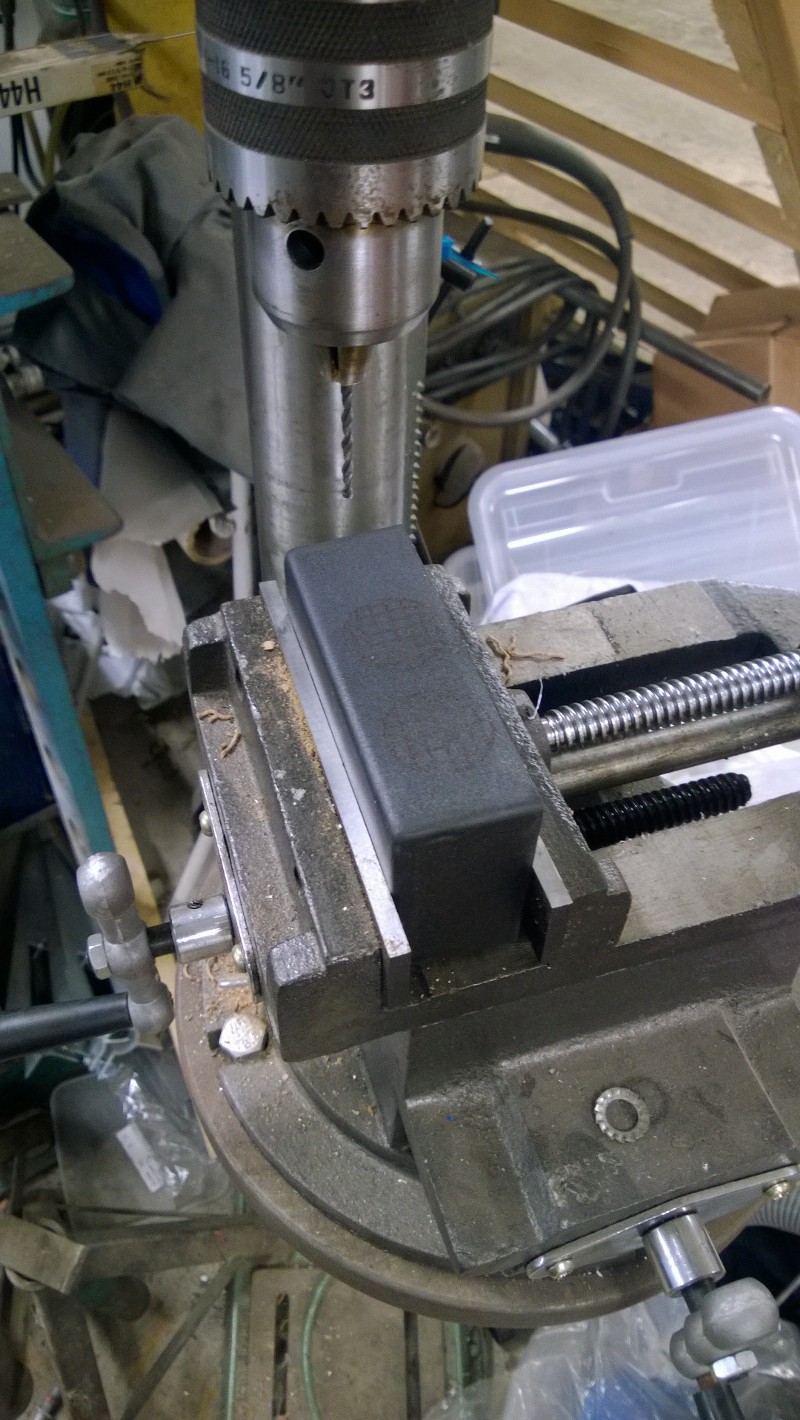
Time to drill some! Here we go, second time using a big drill. The drilling was not a 100% success, there might have been a beer involved in this sting operation, a beer that made it a bit off when drawing the marks for the holes. I ended up gluing the small speakers to the edge of the box.
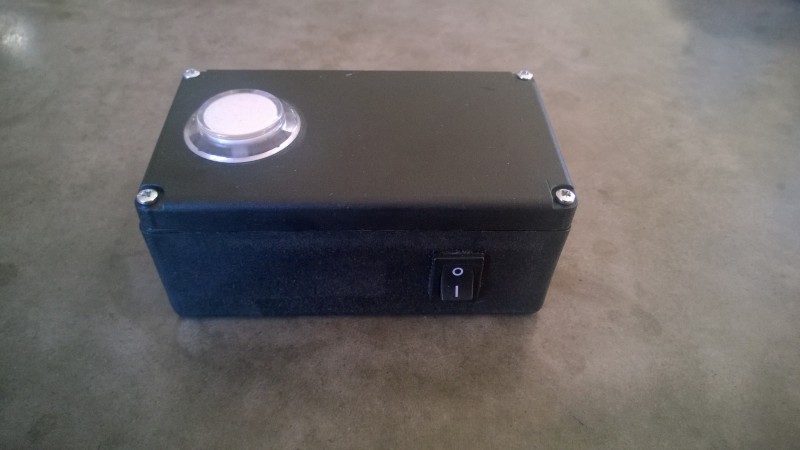
The box assembled

I would say that a video is mandatory for this! Here you go! The final product in all its glory-ish! Links
Electrokit, I bought most stuff from this firm
Conclusion
Was this a project that made any sense? Most likely no. Was it economical? NAH, there are certainly product that does this for a lot cheaper and with higher quality than what I produced. Was it a project that was funny? Hells yea! Really funny to work with your hands to create something that you can actually hold in your hands is a really good feeling. Coding is fun but creating something where code and a physical object work together is just awesome!
There is a small bug in this project, which I’ve not been able to figure out. I think that’s a grounding issue of some sort. From time to time when you press you get a REALLY high sound and you need to cut the power to make it stop.
Future
Unclear if there is any future for this bullshit button, but maybe add a kill switch or make a completely new one with my current knowledge!
Update
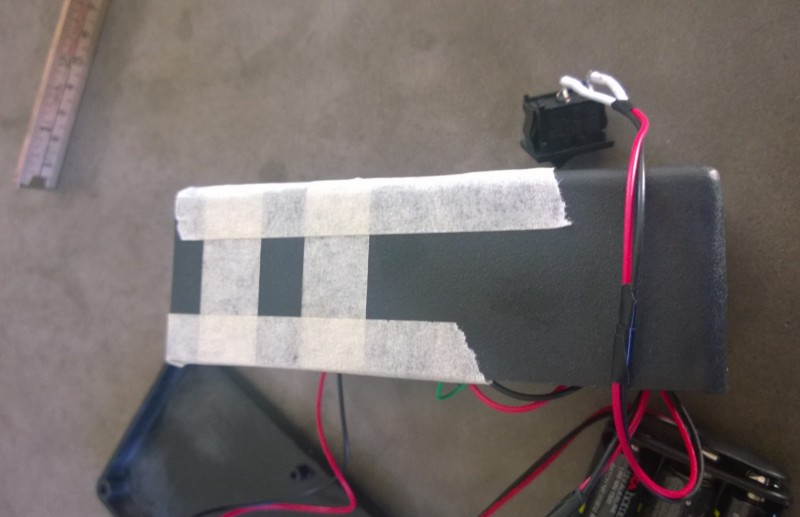
After writing this blogpost I suddenly got renewed energy. I decided to order the parts require to add a on/off button. Some awful soldering pictures are incoming!
Decided that the plus should run via a switch 🙂
TIME TO CUT! Here we go!
Done and done!
Thanks for reading! I must say this was a really funny project! DIY is very satisfying!